这篇文章主要记录使用 Hogo - LoveIt 主题搭建这个网站的过程.
1 准备 了解 Hugo - LoveIt 主题的全部内容和背后的核心概念.
2 安装 安装Hogo和LoveIt主题的步骤,以及安装过程中可能遇到的问题。
如果根本不了解 Hugo, 建议按照此 快速入门文档 进一步了解它。
2.1 安装Hogo LoveIt 主题 0.3.x版本 依赖Hogo 0.128.0及以上版本,
所以要选择安装对版本,否则运行主题时会报错。
分支或版本 支持的 Hugo 版本 master(不稳定) ≥ 0.128.0 0.3.X(推荐) 0.128.0 - 0.143.1 0.2.X(过时) 0.68.0 - 0.127.0
在Mac系统下安装或升级Hogo
1
2
3
4
5
brew upgrade hugo
# 查看版本
hugo version
hugo v0.125.5+extended darwin/amd64 BuildDate = 2024-05-01T15:22:11Z VendorInfo = brew
升级后发现并不是最新版本。
这个时候可以选择源码编译的方式安装:
1
go install github.com/gohugoio/hugo@v0.143.1
安装后查看版本:
1
2
$GOPATH /bin/hugo version
hugo v0.143.1 darwin/amd64 BuildDate = unknown
2.2 创建项目 Hugo 提供了一个 new 命令来创建一个新的网站:
1
2
hugo new site my_website
cd my_website
更多命令行操作Hugo CLI
创建后的目录结构
1
2
ls my_websit
archetypes assets     content    data       hugo.toml  i18n       layouts    static     themes
2.3 安装主题 LoveIt 主题的仓库是: https://github.com/dillonzq/LoveIt .
直接把这个主题克隆到 themes 目录:
1
git clone https://github.com/dillonzq/LoveIt.git themes/LoveIt
或者, 初始化你的项目目录为 git 仓库, 并且把主题仓库作为你的网站目录的子模块:
1
2
git init
git submodule add https://github.com/dillonzq/LoveIt.git themes/LoveIt
如果不初始化项目目录为 git 仓库,会报如下错误:
1
ERROR Failed to read Git log: fatal: not a git repository (or any of the parent directories): .git
初始化后,要创建一个提交,否则会启动失败,提示错误信息如下:
1
ERROR Failed to read Git log: fatal: your current branch 'master' does not have any commits yet
2.4 创建第一篇文章 以下是创建第一篇文章的方法:
1
hugo new posts/first_post.md
通过添加一些示例内容并替换文件开头的标题, 你可以随意编辑文章.
默认情况下, 所有文章和页面均作为草稿创建. 如果想要渲染这些页面, 请从元数据中删除属性 draft: true, 设置属性 draft: false 或者为 hugo 命令添加 -D/--buildDrafts 参数.
2.5 在本地启动网站 使用以下命令启动网站:
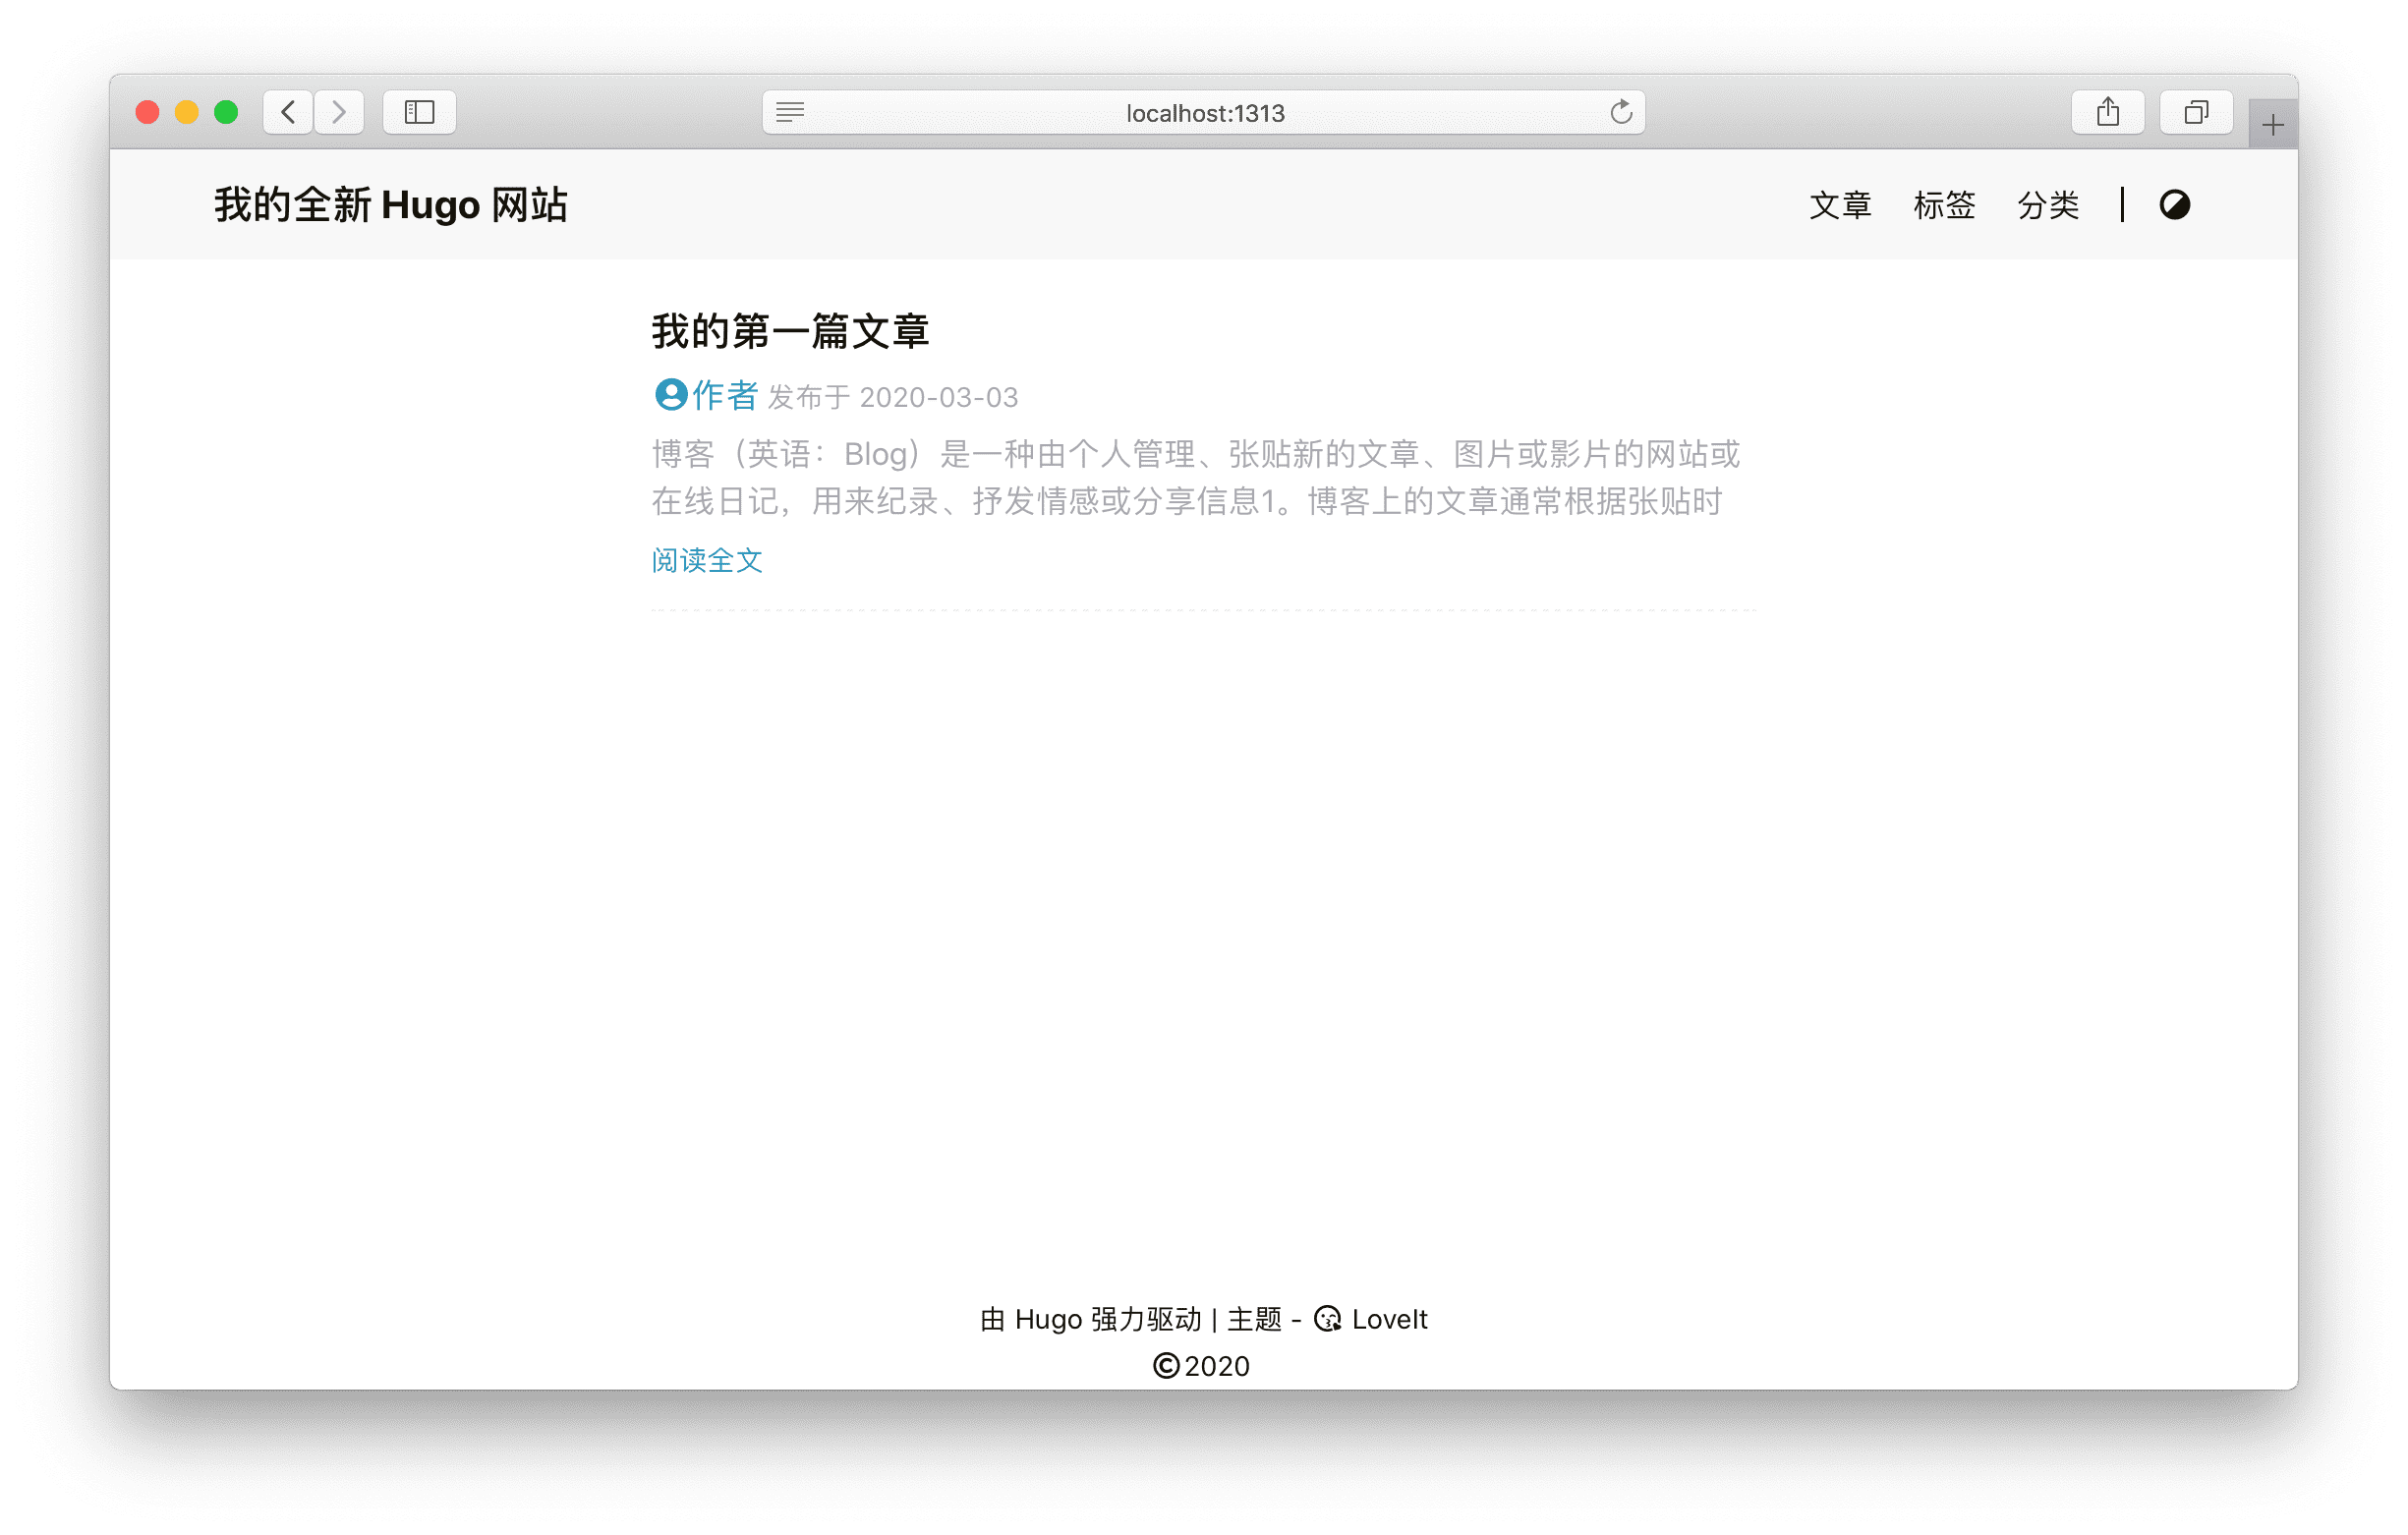
去查看 http://localhost:1313.
基本配置下的预览
3 配置 Hugo 配置介绍
3.1 网站主题配置 LoveIt 主题提供了一个示例: exampleSite
为了方便看到最终效果,可以直接将这个示例下的所有文件覆盖当前项目目录。
1
cp -rf themes/LoveIt/exampleSite .
网站配置文件参数详细说明 hugo.toml
直接运行项目查看效果。
4 网站部署 部署有多种方式,可以自有服务器部署,也可以选择GitHub Pages,
下面主要介绍两种GitHub Pages的部署方式:
4.1 创建 GitHub 仓库 创建一个GitHub仓库,仓库名:username.github.io 将 username 替换为自己的 GitHub 用户名。这个仓库将直接托管这个网站源码和生成的静态文件。
这样后续就可以直接通过:https://username.github.io 来访问网站。
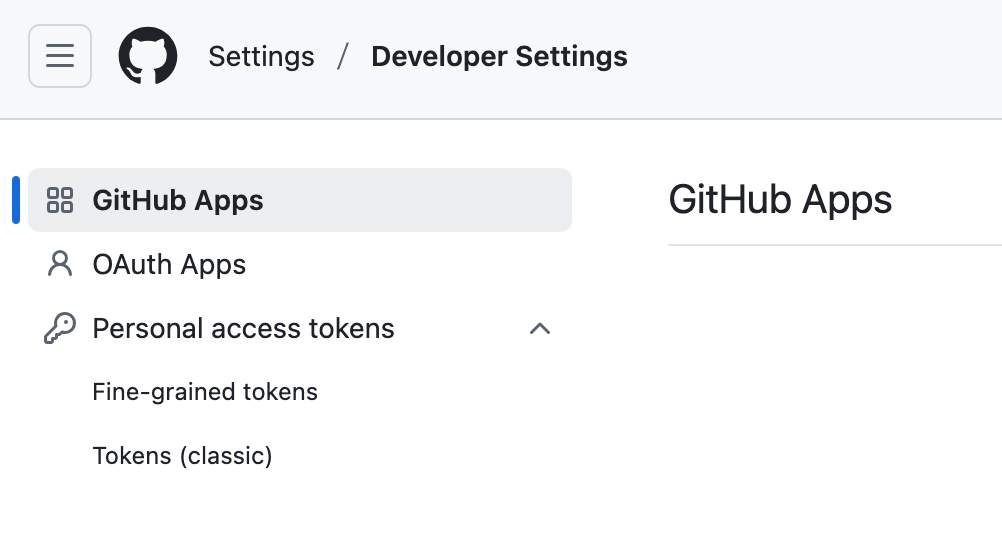
使用 github personal access tokens 来访问仓库 github personal access token
创建后提交网站源码 1
2
git remote add origin https://github.com/username/username.github.io.git
git push -u origin master
如果使用token
1
2
git remote add origin https://TOKEN@github.com/username/username.github.io.git
git push -u origin master
将 TOKEN 替换为上面生成的token
4.2 静态网站部署到GitHub Pages 直接使用静态文件部署, 本地运行 运行后,会在项目目录中生成一个 public 目录文件,这里面是Hugo生成的整个静态网站。
生成 public 静态资源页面 1
hugo --buildDrafts --theme= LoveIt --baseUrl https://username.github.io --config hugo.toml -d public
直接将 public 目录上传到 username.github.io 仓库,这样就可以直接访问网站了。
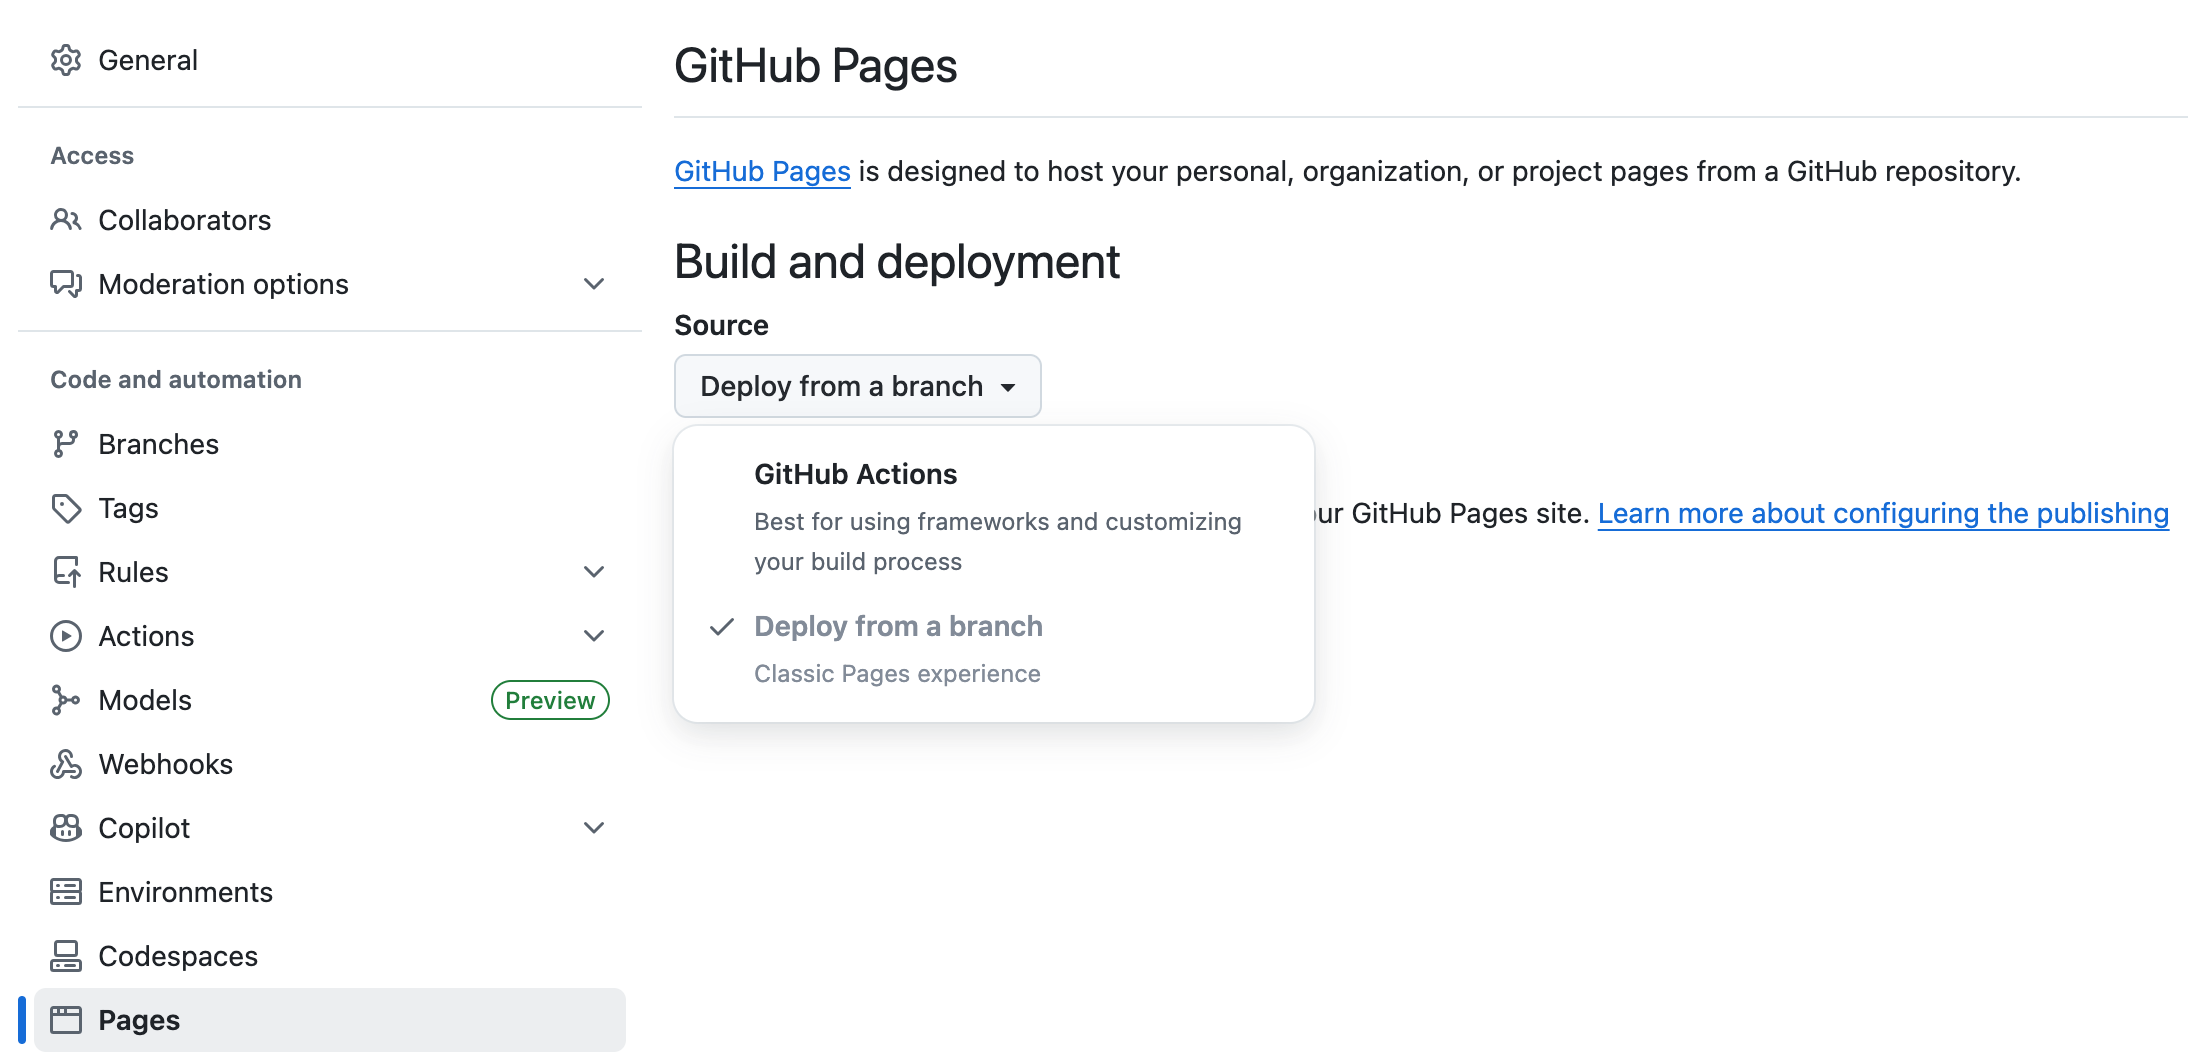
4.3 GitHub Actions 部署 打开仓库 username.github.io Settings - Pages,将 Source 改为 GitHub Actions, 如下: github actions
在网站配置 hugo.toml 中添加 cacheDir 配置,如下所示: 1
2
3
[ caches ]
[ caches . images ]
dir = ':cacheDir/images'
在名为 .github/workflows 的目录中创建一个名为 hugo.yaml 的文件 1
2
mkdir -p .github/workflows
touch .github/workflows/hugo.yaml
复制以下 YAML 代码并粘贴到您创建的文件中。 请打开下面的代码块查看完整的示例配置
1
2
3
4
5
6
7
8
9
10
11
12
13
14
15
16
17
18
19
20
21
22
23
24
25
26
27
28
29
30
31
32
33
34
35
36
37
38
39
40
41
42
43
44
45
46
47
48
49
50
51
52
53
54
55
56
57
58
59
60
61
62
63
64
65
66
67
68
69
70
71
72
73
74
75
76
77
78
79
80
81
82
83
84
85
86
87
88
89
90
91
92
93
94
95
96
97
98
99
100
101
102
103
104
105
106
name : Build and deploy
on :
push :
branches :
- main
workflow_dispatch :
permissions :
contents : read
pages : write
id-token : write
concurrency :
group : pages
cancel-in-progress : false
defaults :
run :
shell : bash
jobs :
build :
runs-on : ubuntu-latest
env :
DART_SASS_VERSION : 1.93 . 2
GO_VERSION : 1.25 . 3
HUGO_VERSION : 0.152 . 2
NODE_VERSION : 22.20 . 0
TZ : Europe / Oslo
steps :
- name : Checkout
uses : actions / checkout @ v5
with :
submodules : recursive
fetch-depth : 0
- name : Setup Go
uses : actions / setup-go @ v5
with :
go-version : $ {{ env . GO_VERSION }}
cache : false
- name : Setup Node . js
uses : actions / setup-node @ v4
with :
node-version : $ {{ env . NODE_VERSION }}
- name : Setup Pages
id : pages
uses : actions / configure-pages @ v5
- name : Create directory for user-specific executable files
run : |
mkdir -p "${HOME}/.local"
- name : Install Dart Sass
run : |
curl -sLJO "https://github.com/sass/dart-sass/releases/download/${DART_SASS_VERSION}/dart-sass-${DART_SASS_VERSION}-linux-x64.tar.gz"
tar -C "${HOME}/.local" -xf "dart-sass-${DART_SASS_VERSION}-linux-x64.tar.gz"
rm "dart-sass-${DART_SASS_VERSION}-linux-x64.tar.gz"
echo "${HOME}/.local/dart-sass" >> "${GITHUB_PATH}"
- name : Install Hugo
run : |
curl -sLJO "https://github.com/gohugoio/hugo/releases/download/v${HUGO_VERSION}/hugo_extended_${HUGO_VERSION}_linux-amd64.tar.gz"
mkdir "${HOME}/.local/hugo"
tar -C "${HOME}/.local/hugo" -xf "hugo_extended_${HUGO_VERSION}_linux-amd64.tar.gz"
rm "hugo_extended_${HUGO_VERSION}_linux-amd64.tar.gz"
echo "${HOME}/.local/hugo" >> "${GITHUB_PATH}"
- name : Verify installations
run : |
echo "Dart Sass: $(sass --version)"
echo "Go: $(go version)"
echo "Hugo: $(hugo version)"
echo "Node.js: $(node --version)"
- name : Install Node . js dependencies
run : |
[[ -f package-lock . json || -f npm-shrinkwrap . json ]] && npm ci || true
- name : Configure Git
run : |
git config core . quotepath false
- name : Cache restore
id : cache-restore
uses : actions / cache / restore @ v4
with :
path : $ {{ runner . temp }} / hugo_cache
key : hugo- $ {{ github . run_id }}
restore-keys :
hugo-
- name : Build the site
run : |
hugo \
--gc \
--minify \
--baseURL "${{ steps.pages.outputs.base_url }}/" \
--cacheDir "${{ runner.temp }}/hugo_cache"
- name : Cache save
id : cache-save
uses : actions / cache / save @ v4
with :
path : $ {{ runner . temp }} / hugo_cache
key : $ {{ steps . cache-restore . outputs . cache-primary-key }}
- name : Upload artifact
uses : actions / upload-pages-artifact @ v3
with :
path : . / public
deploy :
environment :
name : github-pages
url : $ {{ steps . deployment . outputs . page_url }}
runs-on : ubuntu-latest
needs : build
steps :
- name : Deploy to GitHub Pages
id : deployment
uses : actions / deploy-pages @ v4
将更改提交到本地 Git 仓库,然后推送到 GitHub 仓库。 将主题作为项目子模块提交
1
git submodule add https://github.com/dillonzq/LoveIt.git themes/LoveIt
获取完成后,可以选择子模块对应的tag,比如下面选择 tag:v0.3.0 版本
1
2
cd themes/LoveIt
git checkout v0.3.0
查看状态
1
2
git submodule status
f59fb4ecc2ce6c95e0b3395e3d3da9637d5581cd themes/LoveIt ( v0.2.11-169-gf59fb4ec)
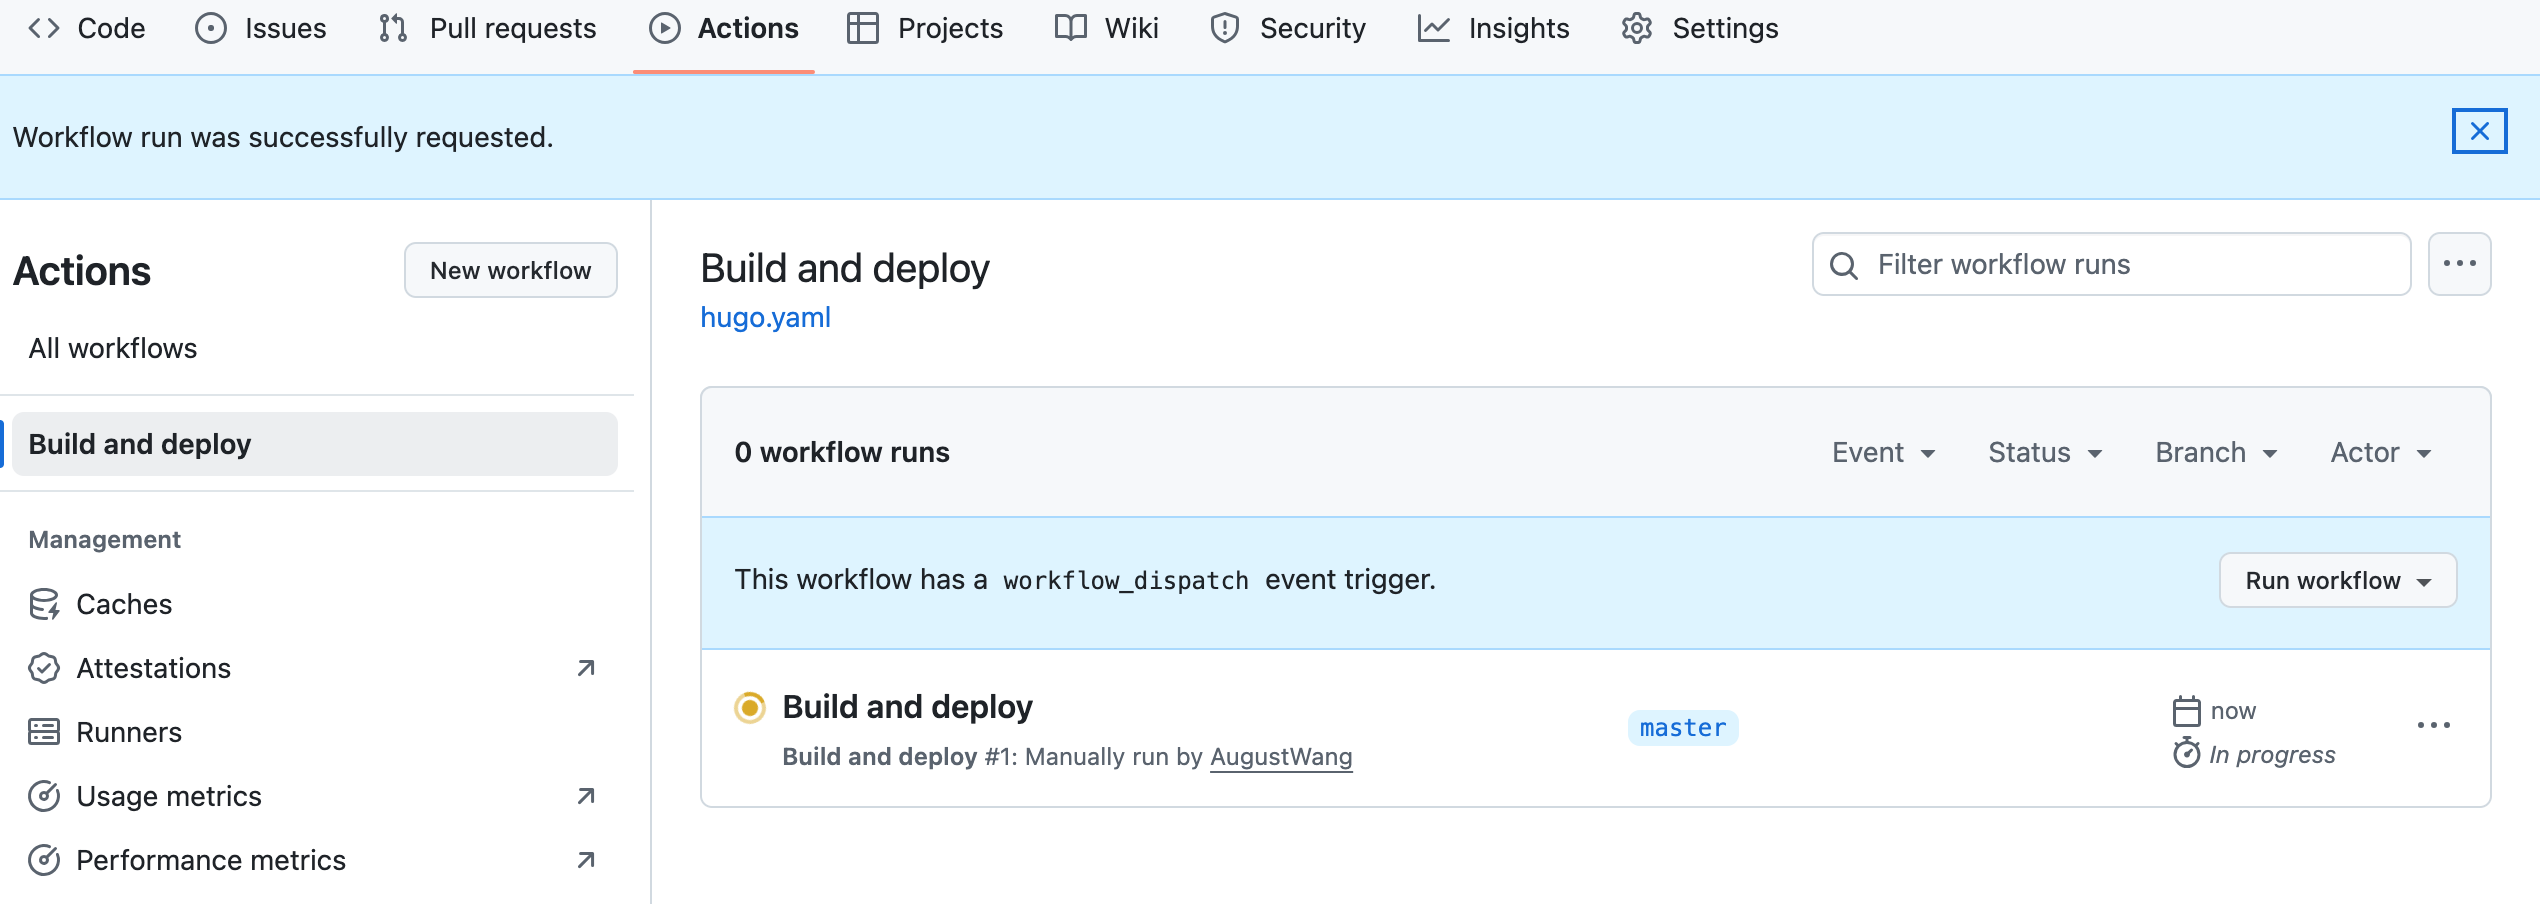
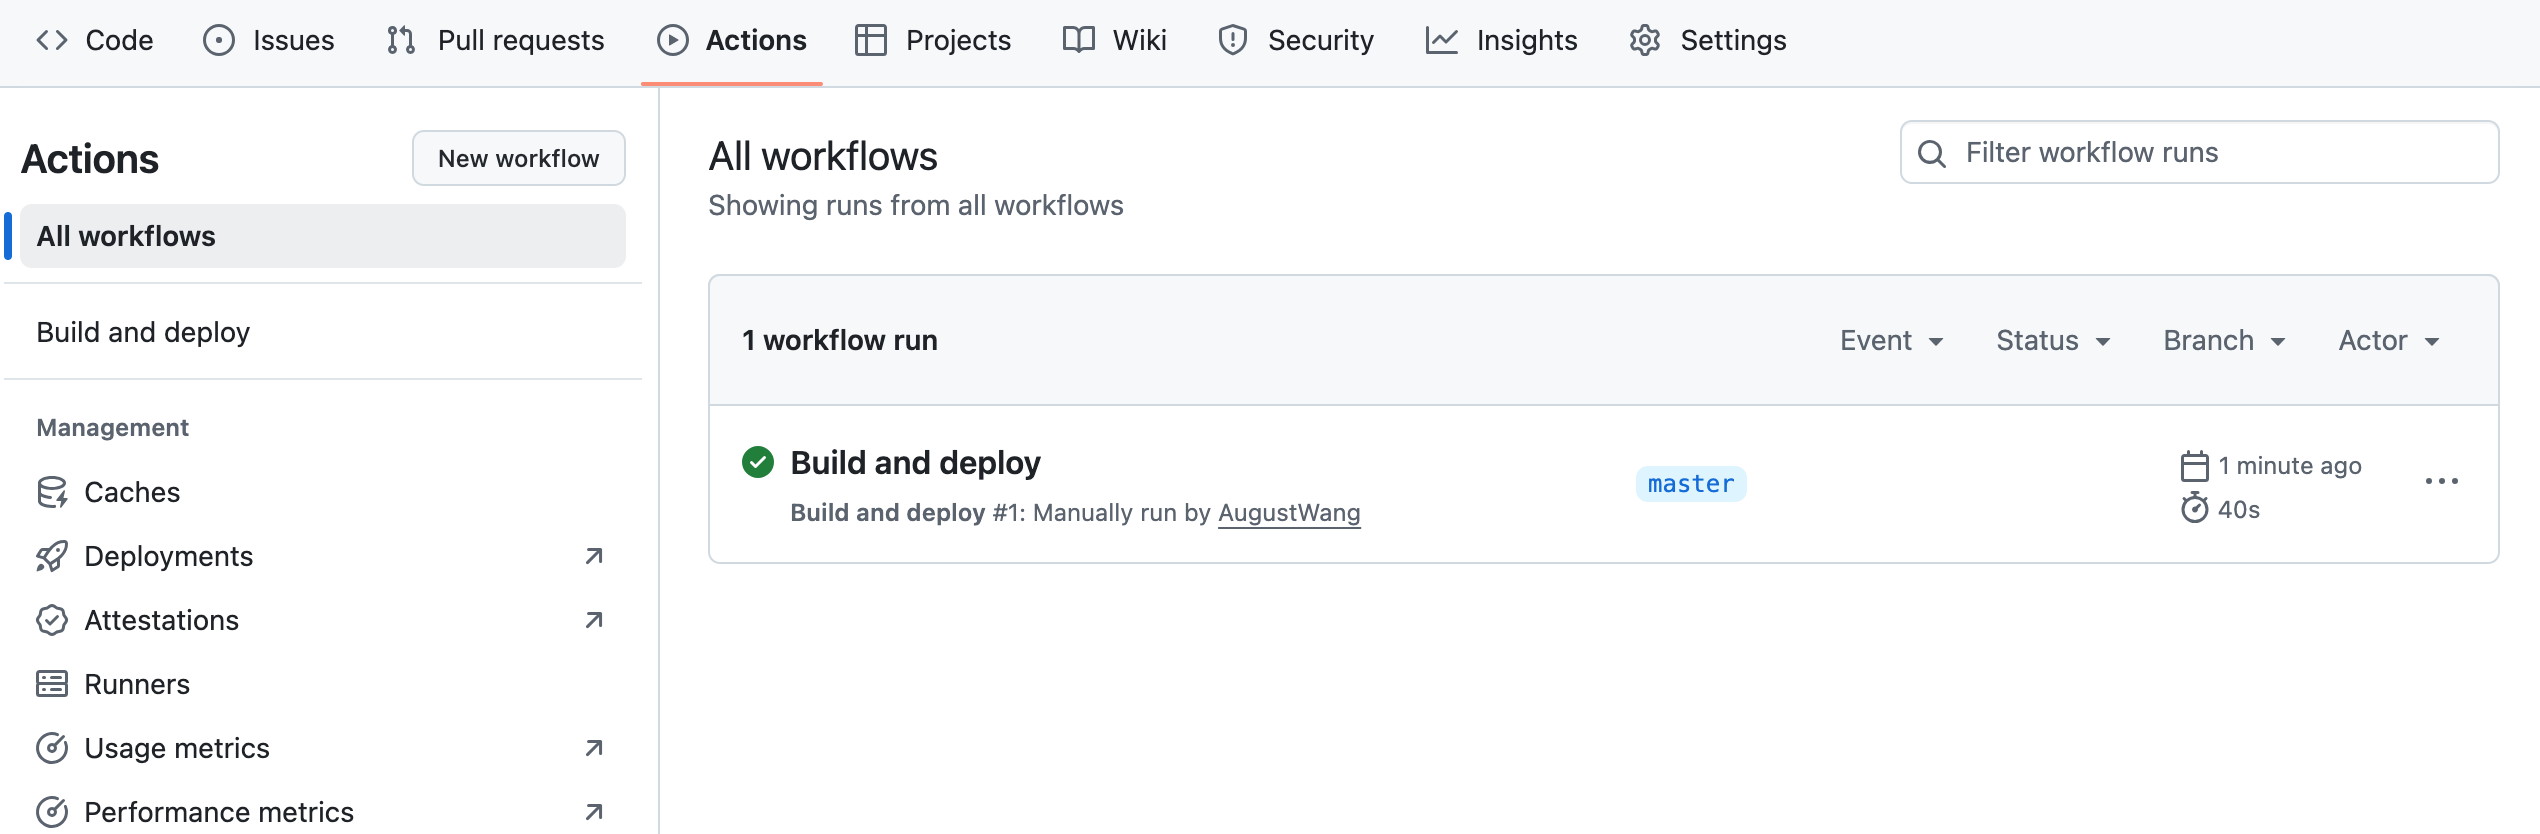
从 GitHub 主菜单中选择 Actions 。将看到类似这样的界面: 选择 run workflowgithub actions build and deploy
运行完成后github actions workflows
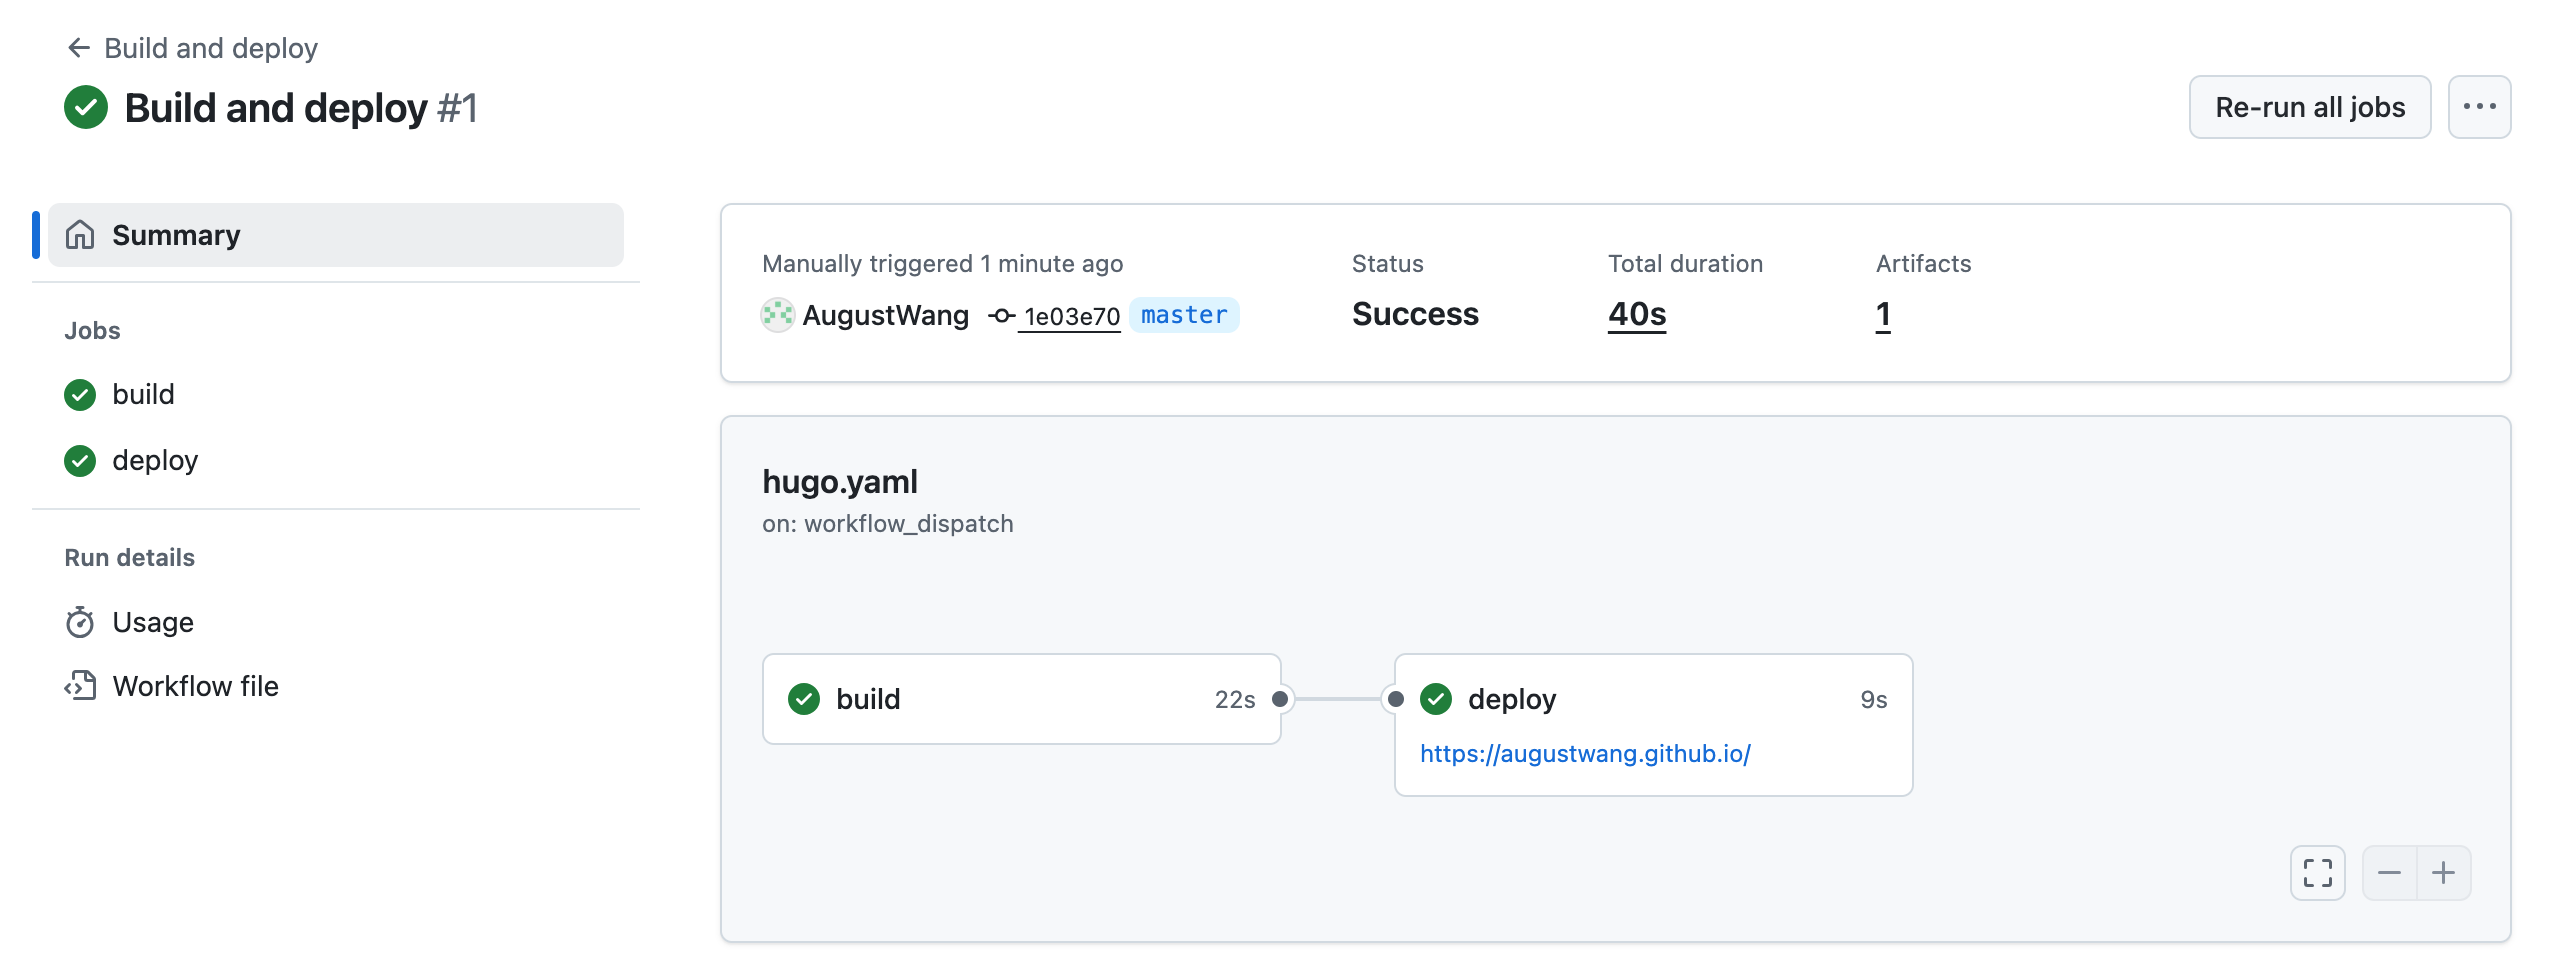
点击可以看到结果github actions workflows runs
5 评论系统 giscus 是由 GitHub Discussions 驱动的评论系统。
5.1 GitHub 开启 Discussions 功能 在自己的 github pages 项目下开启 Discussions 功能。
详细操作流程:Enabling GitHub Discussions on your repository
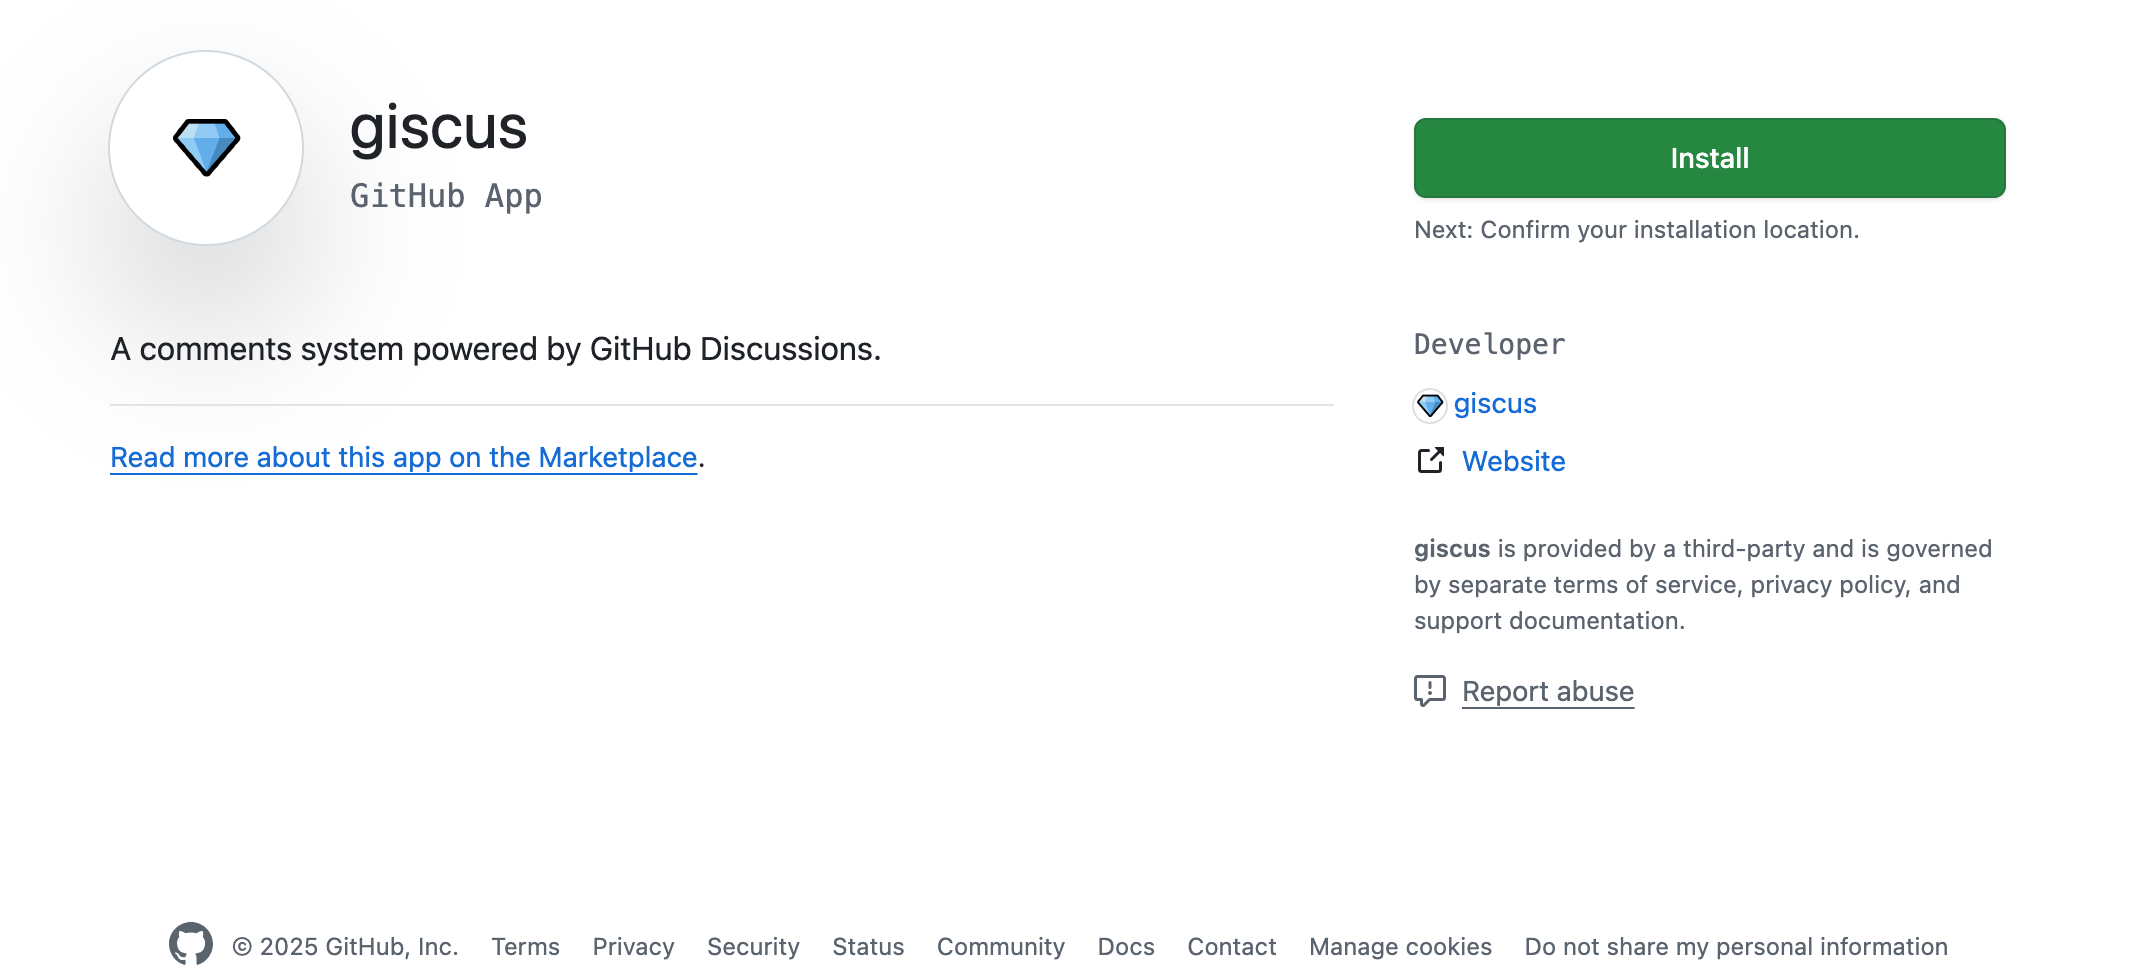
5.2 安装 giscus app 打开 giscus apps , 点击安装。
giscus apps install
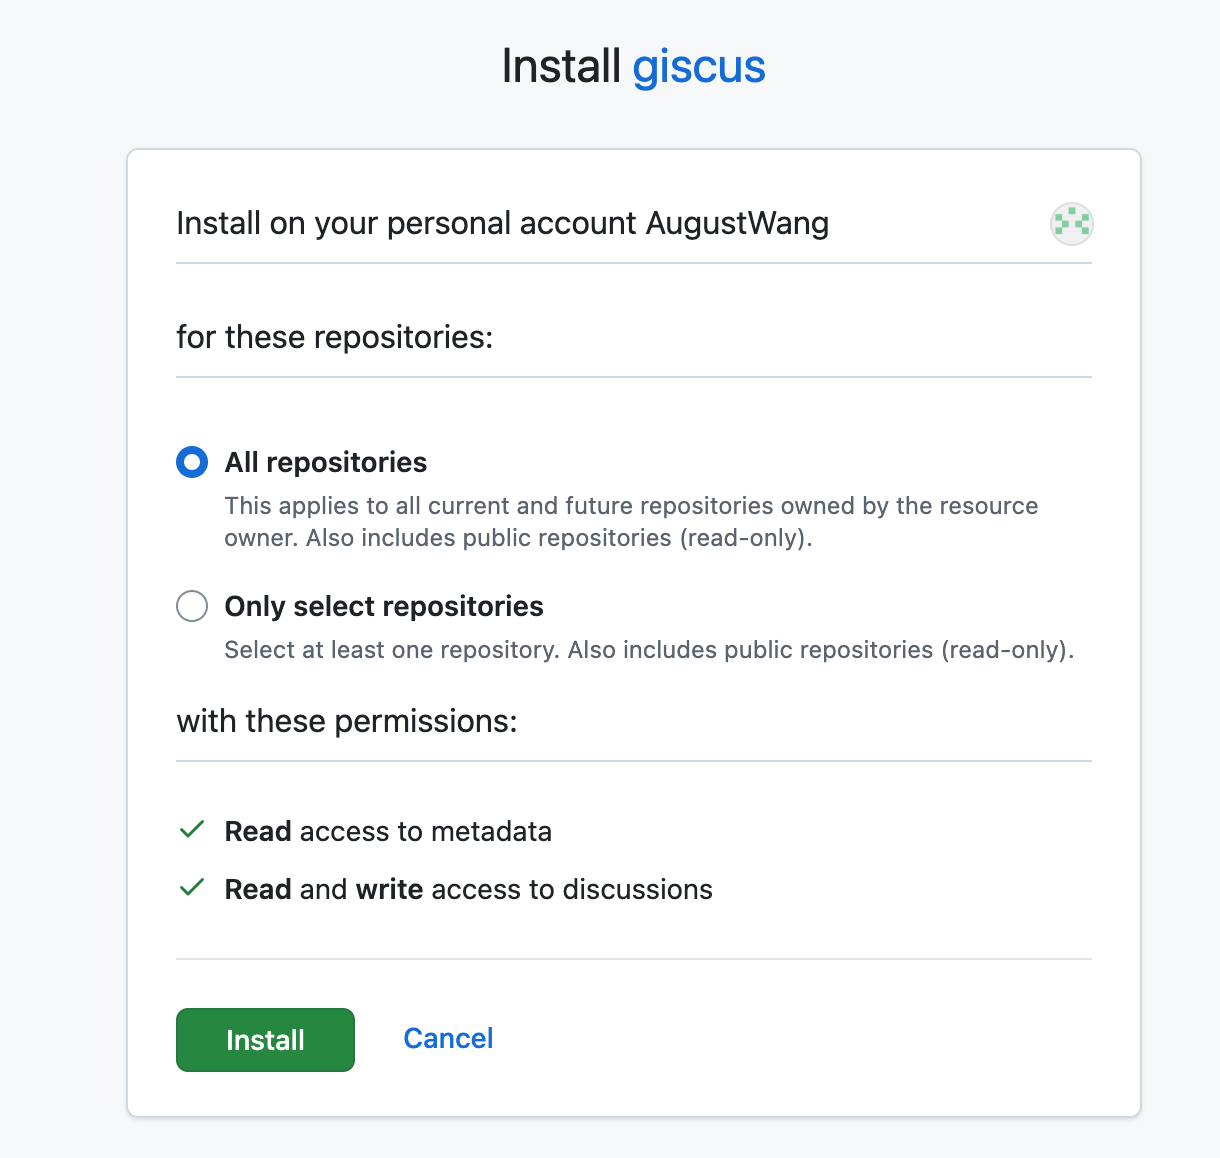
再次授权安装即可。
giscus install
5.3 将 Discussion 连接到项目仓库 打开 giscus.app/zh-CN , giscus Discussion connect
输入自己网站仓库名称就可以安装
然后在下面的 Discussion 分类 中选择使用公告(announcements)类型的分类 discussion announcements
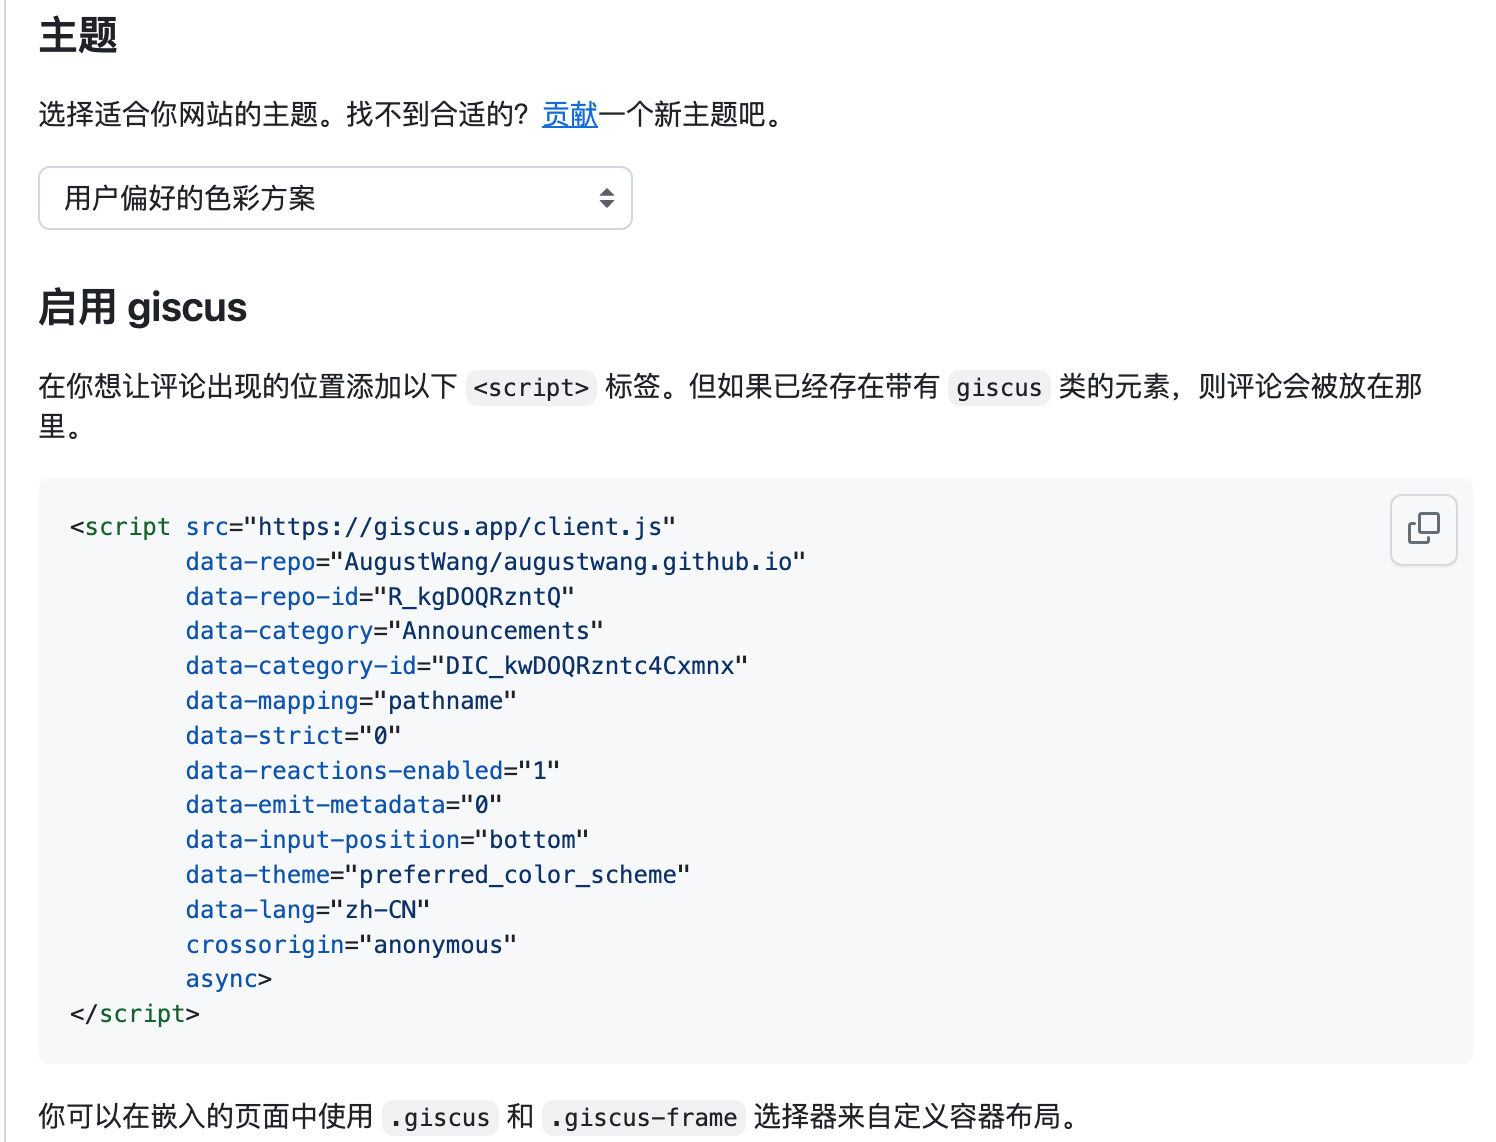
最后 在 启用 giscus 可以看到生成的 <script> 标签代码 giscus script
配置示例如下:
1
2
3
4
5
6
7
8
9
10
11
12
13
14
15
16
17
18
19
20
# giscus comment config (https://giscus.app/)
# giscus comment 评论系统设置 (https://giscus.app/zh-CN)
[ params . page . comment . giscus ]
# You can refer to the official documentation of giscus to use the following configuration.
# 你可以参考官方文档来使用下列配置
enable = true
repo = "AugustWang/augustwang.github.io"
repoId = "R_kgDOQRzntQ"
category = "Announcements"
categoryId = "DIC_kwDOQRzntc4Cxmnx"
# automatically adapt the current theme i18n configuration when empty
# 为空时自动适配当前主题 i18n 配置
lang = "zh-CN"
mapping = "pathname"
reactionsEnabled = "1"
emitMetadata = "0"
inputPosition = "bottom"
lazyLoading = false
lightTheme = "light"
darkTheme = "dark"
提交配置文件,后续就可以在文章中评论了。